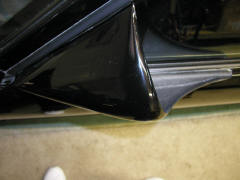
The Beast
Background: The information below was written several years ago during the early stages of development of The Beast. It may help give you some insight into what it takes to modify your manifold and install a full sized turbo and external wastegate on your Mk2.
Real Modifications Begin
As the boost was turned up to 16 PSI, a Greddy intercooler and 7.5” SPAL fan were installed to guard against detonation. The stock BOV was replaced with a Greddy type ”S”. Because the mechanical boost controller lacked cockpit control, a Profec “B” took its place. After driving the car several more months it became evident that the stock CT-26 turbocharger had its limitations. Brad at Turbonetics explained that the CT-26 was handicapped by its design. Running up the boost any further only produces more “hot air.” It simply cannot produce the flow necessary to “make” more horsepower. Brad's point was well taken and a T04E-50 ceramic ball bearing turbo and Deltagate external wastegate were ordered. Getting the new T04E-50 to mount to the stock manifold was a real challenge. A custom adapter had to be designed and built. It needed to be thick enough to hold the studs for mounting, shaped to adapt two different mounts and positioned to place the turbo in a clear area. The second problem was the location of the wastegate. It needed to be close to the manifold to reduce boost creep, but not close enough to “cook,” and in a place where it would not interfere with other parts. A spot over the turbo heat shield was chosen and work began.
How to modify the stock manifold to use an external wastegate.
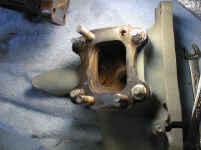
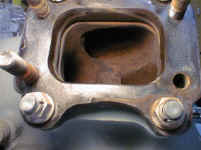
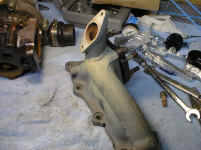
You basically bore a hole in the manifold section where the four pipes come together, slide a 1.5" section of pipe into the hole and TIG weld on the outside. The pipe is about 4" long and has a wastegate flange welded to the other end. I got the flange from Turbonetics. It fits
their Deltagate, even though I am using a TIAL wastegate. Be careful
to place the wastegate where it will clear everything and have room to move because of torque. Mine centers the old heat shield. I actually cut a flange shaped hole in the shield and reused it. This was necessary in order to be able to remove the shield when working on the turbo.
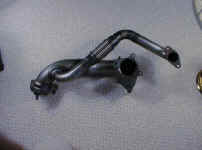
Be sure to put a flex joint in the dump pipe section of your down pipe to avoid cracking. The
flex joint came from Turbonetics too. The stock turbo and
associated parts were removed. The adapter was built and fitted to the
manifold. Many trial fittings of the turbo, adapter and manifold were made
until the assembly would clear. The wastegate pipe and mount were tack
welded in place, a jig built and final TIG welding completed in the shop.
Modifications had to be made to existing heat shields to fit around the
new additions. The car was then taken to the fabrication shop where a
downpipe/ dumppipe were constructed. This process was started on the car,
each section cut, fitted, tacked and finished welded on the bench. All
custom and modified parts were sent to JetHot for ceramic 2000 deg
coating. With final assembly complete the car started up without problem
but was limited to 15 PSI. Because of concerns about fuel, the ECU was
modified by G-Force opening an additional fuel map.
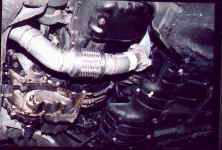
B-pipe.
This one came from Alamo. It's recently been changed
by the addition of the Greddy PE exhaust.
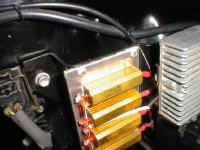
Mil-spec resistor pack, courtesy of Marc Summers.
Used with Supra fuel pump
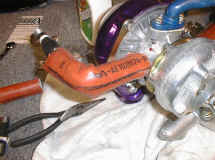
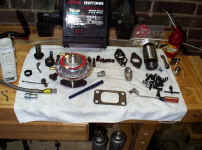
T04E-50 turbo with new stage 3 turbine, ceramic coating
and high temp (orange) hose covers for water hoses (required!).
Turbine wheel was changed from Turbonetics
stage 5 back to stage 3 for faster spool up.
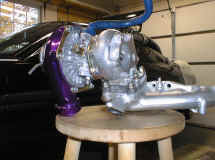
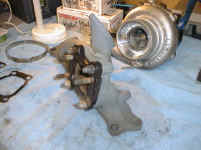
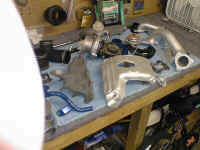
Turbo assembly showing adapter and modified manifold
with wastegate mount and oil drain pipe.
Assembly is sitting upside down on stool
_________________________________
Photos of individual Mods.
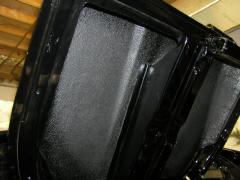
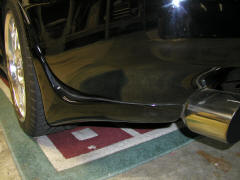
Engine Lid Carbon Fiber
Phoenix Rear Bumper Aero
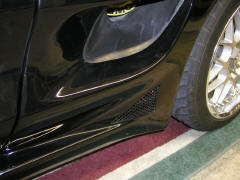
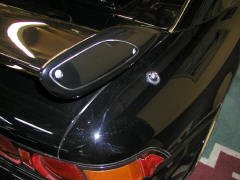
Phoenix Side Vent
Toyota 98 Wing and short antennae
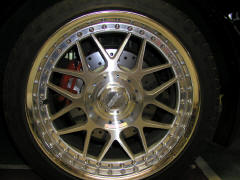
Racing Hart C2 Wheels / Stillen Rotors
The Beast Web ///|||\\\ Copyright ©
2000 Jim Griffin. All rights reserved.
E-mail: Ace123Jim@aol.com Web site:
http://www.MR2Beast.com
Last revised October 22, 2002.
